
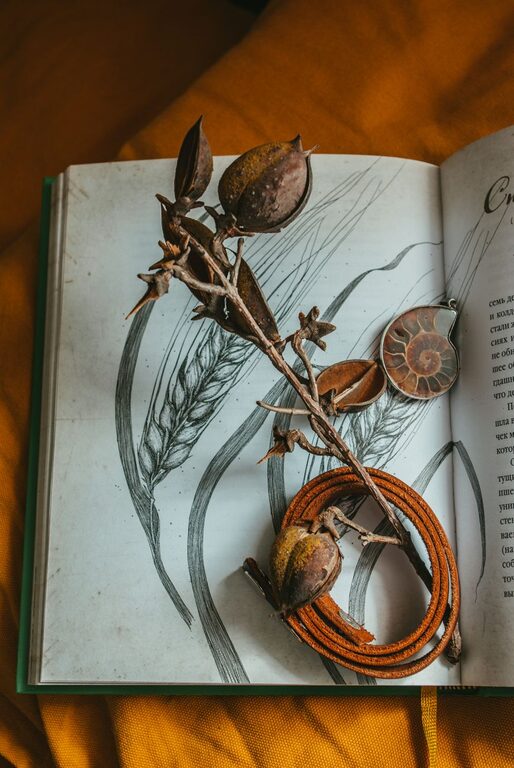
Nature offers an endless supply of colors, shapes, and textures that can inspire beautiful handmade jewelry. A smooth pebble, a dried seed pod, a fallen leaf, or a piece of driftwood can become the centerpiece of a necklace, bracelet, pair of earrings, or decorative charm.
Creating jewelry with found materials is less about expensive supplies and more about noticing interesting details. With a few basic tools and simple techniques, you can turn ordinary natural objects into wearable art while keeping your designs personal and environmentally responsible.
Choose Materials Thoughtfully
The best materials are usually small, lightweight, and durable enough to handle gentle use. Look for objects with interesting shapes, natural patterns, or colors that work well with your preferred jewelry findings.
Good options include:
– Smooth pebbles and small stones
– Fallen leaves and dried flowers
– Pinecones, seed pods, and acorn caps
– Small pieces of driftwood
– Seashells found on the shore
– Dried grass, bark, or twigs
– Pressed flowers and fern pieces
– Naturally shed feathers, where permitted
– Small pieces of fruit pits or nut shells
Only collect materials that are already loose on the ground. Avoid picking living plants, removing bark from trees, disturbing nests, or taking objects from protected areas. Some parks, beaches, and nature reserves have collection restrictions, so check local guidelines before gathering.
It is also wise to avoid unknown plants, mushrooms, or materials that may irritate the skin. When in doubt, leave an object where you found it.
Gather Basic Tools and Supplies
You do not need a large workshop to begin. A small craft area and a few reliable tools are enough for many projects.
Useful supplies include:
– Small jewelry pliers
– Wire cutters
– Fine sandpaper
– Craft glue suitable for the material
– Jewelry wire
– Jump rings
– Earring hooks
– Necklace chains or cords
– Clasps and crimp beads
– Small drill or hand drill
– Clear protective finish
– Tweezers and a craft knife
Choose materials in colors that complement your natural finds. Brass, copper, wood, leather cord, and muted metal finishes often pair well with earthy objects. Silver-colored findings can create a brighter, more modern look.
Before starting, wipe your materials clean and allow them to dry completely. Small stones can be washed with water and mild soap. Wood, seeds, and dried plant materials should generally be cleaned gently with a soft brush instead of being soaked.
Design Around One Natural Feature
A simple design often looks more polished than one crowded with too many elements. Begin by choosing one main feature, such as a patterned stone or a pressed flower. Then select supporting materials that highlight its shape or color.
For example, a pale stone may look attractive with dark cord and a single brass accent. A dried leaf may work well with a simple chain and a small bead. A piece of driftwood can become the focal point when combined with neutral wire and understated charms.
Try arranging your materials on a table before attaching anything. Experiment with:
– Symmetrical and asymmetrical layouts
– One large centerpiece or several small pieces
– Warm and cool color combinations
– Smooth materials paired with rough textures
– Natural objects mixed with glass, wood, or metal beads
Take a quick photo of arrangements you like. This makes it easier to remember the design while you work.
Make a Simple Stone Pendant
A wire-wrapped stone pendant is an easy project for beginners. Choose a small, flat stone with a shape that feels comfortable to wear.
Steps
- Cut a length of jewelry wire approximately 12 to 16 inches long.
- Place the center of the wire against the bottom or side of the stone.
- Wrap both ends around the stone, crossing them securely without pressing too tightly.
- Bring the wires together at the top.
- Twist or loop the wire to create a small hanging point.
- Trim excess wire and tuck the ends neatly with pliers.
- Add the pendant to a chain or cord using a jump ring.
The wire should hold the stone securely, but avoid wrapping so tightly that it scratches or cracks the material. Test the pendant by gently shaking it over a soft surface before wearing it.
Preserve Leaves and Flowers
Pressed leaves and flowers can add delicate color to jewelry. To preserve them, place the plant material between sheets of paper and press it inside a heavy book for one to two weeks. Replace damp paper if needed.
Once fully dry, the pieces can be used in several ways:
– Seal them between clear craft resin
– Attach them to a pendant base
– Place them inside a glass locket
– Cover them with several thin layers of clear finish
– Mount them onto wooden or metal shapes
Use thin layers of protective coating rather than one thick layer. Allow each layer to dry fully according to the product instructions. Handle pressed plants carefully because they can become brittle.
A clear pendant made with a tiny fern or flower can create a clean, modern look. For a more rustic style, combine the plant with wood, linen cord, or antique-style metal findings.
Turn Seed Pods and Shells into Charms
Small seed pods and shells can become lightweight charms for earrings, bracelets, or necklaces. Make sure each piece is clean, dry, and free from sharp edges.
If the material is strong enough, create a small hole with a hand drill. Work slowly and support the piece on a soft surface. For fragile materials, avoid drilling and attach a small wire loop with craft adhesive instead.
To create a charm:
- Add a jump ring through the hole or attached loop.
- Connect the jump ring to a chain, bracelet, or earring hook.
- Add one or two small beads if the design needs extra color.
- Close the ring firmly with pliers.
Matching seed pods can make attractive earrings, while a collection of different shells can create a relaxed coastal bracelet.
Protect and Finish Your Jewelry
Found materials may be more delicate than manufactured beads, so a protective finish can help extend their life. Use a suitable clear coating for wood, dried plants, or shells, and test it on a spare piece first.
Keep finished jewelry away from prolonged moisture, direct heat, and strong sunlight. Store each piece in a dry container or soft pouch. Pressed flowers and natural fibers may fade over time, which is part of their organic character.
Check your jewelry regularly for loose wire, cracked materials, or worn clasps. Repairing small problems early can prevent a favorite piece from breaking.
Add Your Own Creative Style
Nature-inspired jewelry can be rustic, minimalist, colorful, or elegant. Your choice of materials and finishing details will define the style.
For a minimalist design, use one polished stone on a thin chain. For a woodland look, combine wood, seed pods, and earthy beads. For a coastal theme, pair shells with blue glass, pale cord, or silver-toned findings.
You can also create collections based on a season, location, or color palette. A series inspired by autumn might include warm leaves, acorn caps, and copper-colored findings. A spring collection could feature pressed flowers, light wood, and soft green stones.
The most appealing designs often preserve the natural character of the material rather than hiding it. Let unusual shapes, small imperfections, and varied textures become part of the story.
Final Thoughts
Making jewelry from found materials is a rewarding way to slow down, explore your surroundings, and create something truly individual. Start with a few simple objects, work carefully, and allow the material to guide your design.
With thoughtful collecting, basic tools, and a little patience, ordinary pieces of nature can become beautiful accessories that reflect both your creativity and the places that inspired them.