
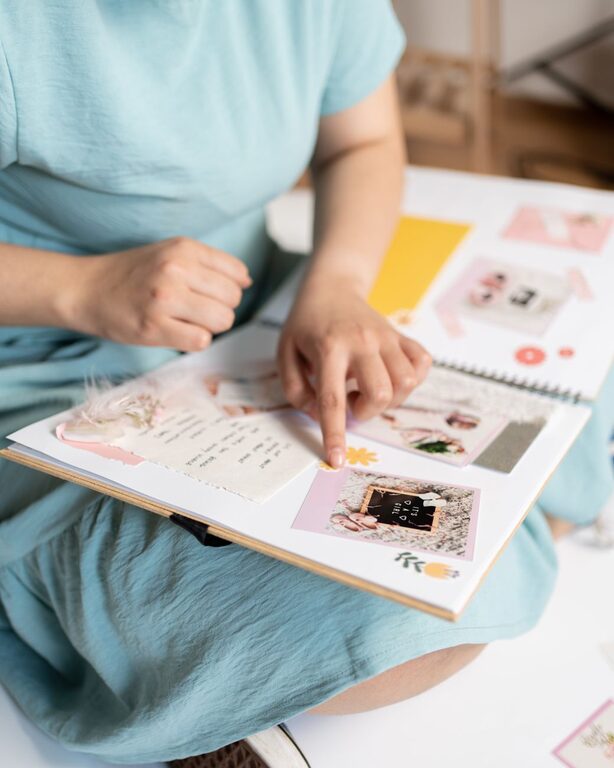
Photographs capture moments, but a scrapbook page can turn those moments into a complete story. By combining pictures with paper, words, colors, and small decorations, you can create pages that feel personal and inviting. Whether you are documenting a family celebration, a weekend trip, a special season, or everyday memories, scrapbooking gives your favorite photographs a creative place to live.
You do not need advanced craft skills or expensive supplies to begin. A thoughtful layout, a few meaningful details, and a clear theme can make any page feel polished. Use the ideas below to turn your photographs into scrapbook pages you will enjoy revisiting.
Start with a Story or Theme
Before choosing papers and decorations, decide what your page should communicate. A theme gives your design direction and helps you select the most useful photographs.
Possible themes include:
– A family gathering
– A day at the beach
– A child’s first year
– A birthday celebration
– A favorite season
– A weekend road trip
– A hobby or personal achievement
– Everyday moments at home
A theme can be broad or specific. For example, instead of creating a page called “Summer,” you might focus on “Our First Picnic of the Year.” A specific idea often makes it easier to choose photos, colors, and words.
If you are creating a larger scrapbook, consider how each page will connect to the next. Similar colors, titles, or accents can help the entire album feel consistent without making every page look identical.
Choose Photos with Care
You do not need to use every photograph from an event. A small group of strong images can tell a better story than a crowded page.
Look for a mix of photographs, such as:
– A wide image that shows the setting
– A close-up portrait or detail
– A candid moment
– A picture of an object, meal, or decoration
– A group photograph
– A final image that shows how the day ended
Three to five photographs often work well on a standard page. If you have many favorites, create a two-page spread or add a small pocket for extra prints.
When selecting pictures, consider the colors and shapes within them. A bright photograph may become the page’s main focal point, while smaller images can support the overall design. You can also crop prints carefully to remove distractions or highlight an important expression.
Pick a Simple Page Layout
A clear layout helps the page feel balanced. Start by placing your photographs on the page without attaching them. Move them around until you find an arrangement you like.
The Grid Layout
Arrange photographs in neat rows or columns. This style is easy to plan and works especially well when the pictures have similar sizes. Add a title above the grid and journaling below it for a clean, organized look.
The Feature Photo Layout
Choose one large photograph as the main focus and place two or three smaller images around it. This layout is ideal when one picture captures the spirit of the event especially well.
The Collage Layout
Overlap photographs, paper shapes, and decorative pieces to create a relaxed, layered design. Keep a few open areas so the page does not feel too busy.
The Timeline Layout
Arrange photographs in the order that events happened. Add short notes, dates, or arrows to guide the viewer through the story. This is useful for trips, celebrations, and activity-filled days.
Build a Color Palette
A simple color palette can make separate materials look like they belong together. Choose two or three main colors from the photographs, such as the blue of a sky, the green of a garden, or the warm tones of a sunset.
You can use these colors for:
– Background paper
– Photo mats
– Titles
– Borders
– Small embellishments
– Journaling cards
Neutral colors such as white, cream, gray, and kraft brown can help brighter shades stand out. If your photographs already contain many colors, use a calm background and limit decorative accents.
Another option is to choose colors based on the mood of the page. Soft colors can suit quiet family moments, while bold colors may work well for parties, travel, or playful memories.
Add Layers for Depth
Layering is an easy way to make a scrapbook page more interesting. Place a photograph on a slightly larger piece of colored paper to create a mat. Add a second layer beneath it using patterned paper or a torn paper edge.
Try combining different textures, including:
– Smooth cardstock
– Patterned paper
– Vellum
– Fabric scraps
– Paper doilies
– Washi tape
– Cardboard pieces
– Small envelopes
You do not need to layer every item. Use a few carefully placed pieces to frame photographs and guide attention toward the most important parts of the page.
For a softer appearance, tear the edges of paper by hand. For a sharper style, use a paper trimmer or decorative scissors to create clean lines.
Write Meaningful Journaling
Words often become the most valuable part of a scrapbook page over time. A photograph may show what happened, but journaling can explain why the moment mattered.
Include details such as:
– The date and location
– Who was present
– What happened before or after the picture
– A funny comment or memorable phrase
– How the moment made you feel
– A small detail that might otherwise be forgotten
Your journaling does not need to be long. A few sentences can provide helpful context. You can write directly on the page, add a printed note, or place the text inside a small pocket.
If you are unsure what to write, complete a simple sentence such as:
– “My favorite part of this day was…”
– “We will always remember…”
– “This picture makes me think of…”
– “At the time, we did not know that…”
Handwritten notes add a personal touch, while typed journaling can create a neat and consistent appearance. Choose the style that feels natural for your project.
Use Creative Photo Treatments
Photographs can become more than rectangular prints. Try different ways to display them while protecting the original image.
Ideas include:
– Cutting a photo into a circle or square
– Creating a small photo strip
– Printing one image in black and white
– Using a photograph as a background for a title
– Placing a photo inside a paper frame
– Creating a flip-up section for hidden pictures
– Adding a transparent overlay with a short caption
Always make a copy before cutting or altering a photograph. You can also use duplicate prints for experiments and keep the original safely stored.
Add Small Decorative Details
Decorations should support the story rather than cover the photographs. Choose accents that connect to the page theme.
For a travel page, consider map shapes, tickets, labels, or simple location icons. For a garden page, use leaf patterns, flower shapes, or soft green paper. For a birthday page, add banners, stars, or colorful circles.
Other useful details include:
– Stickers
– Stamps
– Paper clips
– Buttons
– Ribbon
– Alphabet letters
– Die-cut shapes
– Small handwritten labels
Use odd-numbered groupings, such as three stars or five dots, to create a natural visual rhythm. Leave some open space so the page can breathe.
Finish with Balance and Protection
Before securing everything, step back and review the page. Check whether the title is easy to find, the photographs are balanced, and the journaling is readable. Make sure decorative elements do not hide important parts of the images.
Once you are satisfied, attach pieces with photo-safe adhesive. Avoid using materials that may damage photographs over time. If your pages will be stored in an album, use protective sleeves and keep the scrapbook away from direct sunlight, heat, and moisture.
Finally, add a small finishing detail, such as your initials, the page date, or a short closing sentence. This can make the page feel complete.
Make Every Page Personal
The best scrapbook pages are not necessarily the most elaborate. They are the ones that preserve details, feelings, and stories in a way that feels true to you. Start with photographs you love, build a simple layout, and add words that explain why the moment matters.
With a few supplies and a little planning, ordinary prints can become lasting keepsakes. Each page offers a chance to celebrate the people, places, and everyday experiences you want to remember.